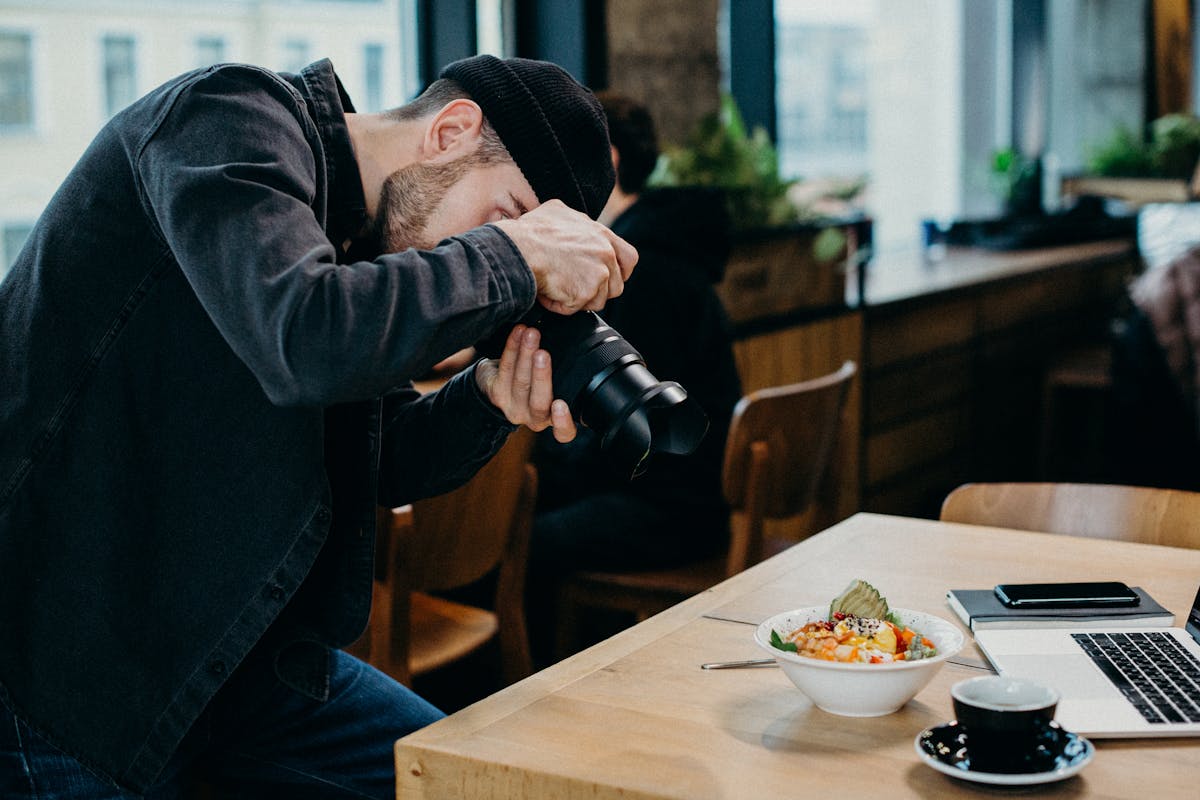
In the age of Instagram and digital menus, food photography has become an art form as well as a powerful marketing tool. Whether you’re a food blogger, restaurant owner, or passionate home cook, capturing dishes that make viewers crave a bite is more than just taking a quick snap—it’s about storytelling, technique, and creativity. And the best part? You don’t need a high-end studio or expensive gear to create mouthwatering images. With some clever strategies and budget-friendly tools, anyone can take food photographs that look good enough to eat.
The Power of Presentation
Before the camera even comes into play, presentation is everything. A well-plated dish automatically enhances the visual appeal and gives the photograph a professional edge. Think about colors, textures, and balance. A sprinkle of herbs, a drizzle of sauce, or a neatly placed garnish can turn a simple meal into a photogenic masterpiece.
On a budget, simple props like rustic cutting boards, second-hand dishes from thrift stores, or textured cloth napkins can elevate your composition. Variety in backgrounds—wood grain, marble, or neutral-toned fabric—helps highlight the food without overpowering it. Natural materials tend to work best because they complement the organic feel of food.
Natural Light is Your Best Friend
When it comes to budget food photography, lighting can make or break the image. Fortunately, the most effective light source is absolutely free—natural daylight. Shooting near a large window, preferably with sheer curtains to diffuse the light, can create soft, flattering illumination. This mimics the kind of light we’re used to seeing in lifestyle food magazines and cookbooks.
Avoid harsh overhead lights or using the camera’s built-in flash, which can flatten the image and create unwanted shadows. Instead, experiment with different times of the day to capture the perfect glow—early morning or late afternoon tends to be ideal.
If you’re shooting in the evening or don’t have good natural light, inexpensive alternatives like LED panels or even desk lamps with daylight-balanced bulbs can help replicate the effect.
Composition and Angles
Understanding how to frame your shot is key to making food look appetizing. The three most popular angles for food photography are:
- Overhead (flat lay): Perfect for dishes with lots of components like charcuterie boards, pizza, or baked goods.
- 45-degree angle: This mimics the way we naturally view food when sitting at a table.
- Eye-level (side view): Great for showing layers in burgers, cakes, or stacked sandwiches.
Don’t be afraid to get close—zooming in on the texture of a juicy steak or the glisten on fresh berries can provoke that hungry reaction you’re after.
Budget-Friendly Equipment Hacks
While professional cameras offer stunning clarity and detail, you don’t need one to get started. Most smartphones today come equipped with excellent cameras and a variety of shooting modes. Use manual settings or apps like Lightroom Mobile to control exposure, focus, and white balance for more precision.
In terms of gear, here are some budget-friendly additions:
- Tripods: Small desktop tripods or smartphone mounts cost very little but help eliminate blur and allow for consistent angles.
- Reflectors: A DIY reflector made from white poster board or aluminum foil can bounce light into shadows and balance exposure.
- Backdrops: Create your own backdrops with foam boards, painted tiles, or faux wood panels from craft stores.
Editing Like a Pro
Post-processing is where your food photos really come to life. Even a basic editing app can help adjust brightness, contrast, and color balance to make your dishes pop. Use editing tools to:
- Enhance the saturation (but avoid overdoing it).
- Sharpen textures for crisp detail.
- Adjust white balance to ensure the food looks fresh and true to color.
Consistency in editing also helps you build a recognizable style, especially if you’re curating a social media feed or website gallery.
Adding Emotion Through Storytelling
What makes a food photo memorable isn’t just how it looks—it’s how it feels. The inclusion of human elements, like a hand reaching for a slice of cake or steam rising from a bowl of soup, adds life to the image. This emotional connection invites viewers to imagine themselves in the scene, increasing the appetite appeal.
You don’t need expensive models or studios to achieve this. Friends, family members, or even your own hands can serve as props. A shared breakfast setup or a cozy coffee break on a rainy day can tell a compelling story for the price of a home-cooked meal.
Smart Collaboration and DIY Marketing
If you’re a small business or home-based food creator, consider collaborating with local creatives who can help you scale your visuals. Many aspiring photographers, stylists, or influencers are willing to collaborate for mutual portfolio building. Alternatively, services such as photo booth rental San Antonio can be repurposed for pop-up food events or market stalls to create fun, shareable moments with a professional finish, often at a fraction of the cost of a full photographer session.
Conclusion:
Creating food photography that makes people hungry doesn’t require deep pockets—it requires intention, creativity, and a little bit of resourcefulness. From mastering natural light and angles to using budget-friendly props and editing tools, you can build an engaging visual identity that captures the essence of your culinary creations.
With consistency and a passion for both food and imagery, even amateur photographers can carve out a delicious presence online. So the next time you plate up a meal, pause before digging in—because that dish might just be your next irresistible photo.