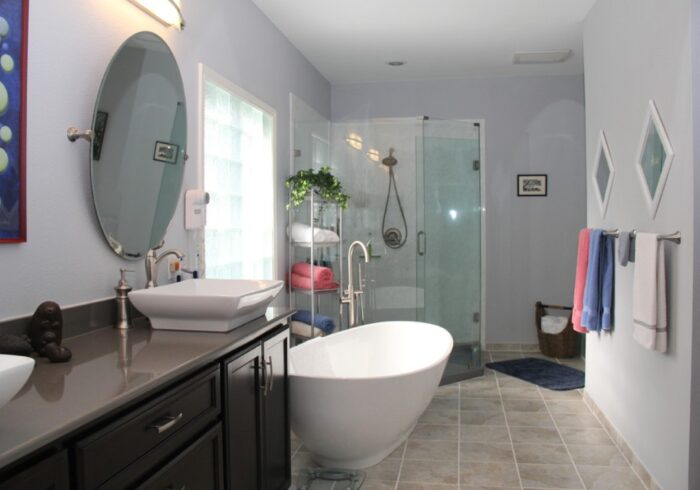

Area rugs not only add comfort, style, and warmth to your required space but they also provide convenience and protection for your floors. When you are ready to install an area rug then it’s essential to do it correctly to ensure a secure and aesthetically pleasing result. Let’s explore some most important steps of installing area rugs to help you attain a polished and well-placed floor covering.
Step 1: Measure and Choose the Right Size
It’s essential to measure the space accurately before you start installing an area rug. Measure the size and shape of the rug you need to fit your room appropriately. You need to consider factors such as room dimensions, furniture placement, and the desired coverage area. It’s generally recommended to leave an equal amount of exposed floor space on all sides of the rug for a balanced look.
Step 2: Prepare the Floor
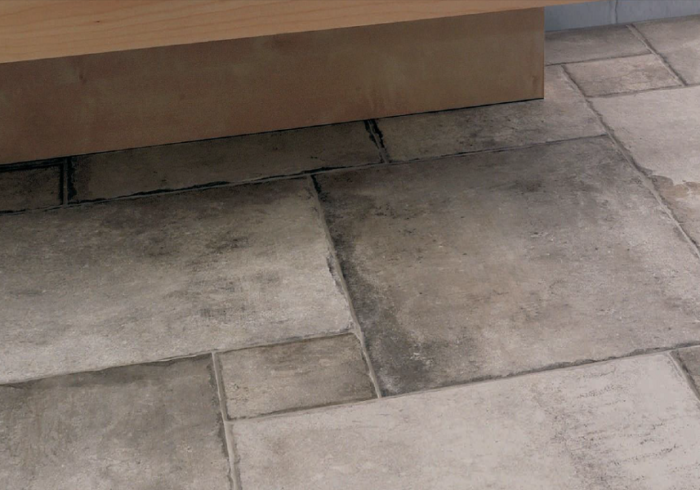
It’s essential to prepare the floor properly to ensure a soft, smooth, and secure installation. For preparing the floor you need to clean the surface thoroughly by removing any dust, debris, or loose particles. If you’re placing the rug on hardwood or tile floors then you must consider a rug pad to provide grip and prevent slippage. Rug pads help to provide additional cushioning and help prolong the life of your rug.
Step 3: Position the Rug
Lay out the rug in the desired area or location and adjust it to the correct position. If you have furniture in the room, arrange it on top of the rug or around it, being sure of your preference and the size of the rug. This helps to prevent it from shifting or bunching up over time. Take into account any doorways or obstructions that might need the rug to be positioned in a certain way.
Step 4: Secure the Rug
It’s essential to secure it in place to prevent the rug from slipping. One most crucial option are to use double-sided carpet tape or rug grippers specifically designed for this purpose. Apply the tape along the edges of the rug to ensure that they are spaced and secure. Alternatively, if you have a larger area rug, you can use furniture to hold down the corners and edges, adding stability.
Step 5: Finishing Touches
Take a moment to ensure it is aligned correctly and looks visually pleasing in the room after properly securing the rug. Make any essential adjustments to straighten out the rug’s edges or align it with the furniture. Take care to remove any visible wrinkles by gently rubbing and smoothing them out. Some rugs may need time to flatten completely to allow the rug to settle in their new position for a few days.
Conclusion
Installing an area rug is an easy, simple, and effective way to improve the aesthetics, convenience, and comfort of your living space. When you follow these steps and instructions, you can assure that a successful installation not only adds a stylish touch to your room but it also provides a secure and comfortable surface. Remember to measure accurately, prepare the floor sufficiently, position the rug correctly, and make essential adjustments for a visually appealing result. Then enjoy the cozy ambiance and practical benefits of area rugs that bring to your home.